

Can a laminating machine laminate photos?
Jul 31, 2025
Leave a message
Sure, photos can be laminated using a laminating machine. I'm a supplier of laminating machines, and I've had a lot of customers asking me about laminating photos. So, I thought I'd write this blog to share some insights on whether a laminating machine can laminate photos and how to go about it.
First off, let's talk about why you'd want to laminate photos. Photos are precious memories, but they can get damaged easily. Things like moisture, fingerprints, and scratches can all take a toll on your photos over time. Laminating them creates a protective layer that shields the photo from these elements, making it last a lot longer. Plus, it gives the photo a nice, glossy finish that can make the colors pop.
Now, the big question: Can a laminating machine laminate photos? The short answer is yes. Most laminating machines on the market today are perfectly capable of laminating photos. Whether you've got small wallet-sized photos or larger prints, there's a laminating machine out there that can handle the job.
There are a few things to keep in mind when laminating photos. The first is the type of laminating machine you use. There are two main types: thermal and cold laminating machines.
Thermal laminating machines use heat to activate the adhesive on the laminating film. They're great for a wide range of materials, including photos. They typically provide a strong bond and a professional-looking finish. However, the heat can sometimes cause issues with photos, especially if they're printed on certain types of paper or have been treated with special inks. The heat can make the photo curl, fade, or even cause the ink to run. So, if you're using a thermal laminating machine, it's a good idea to test a small, inconspicuous area of the photo first to make sure it can handle the heat.
Cold laminating machines, on the other hand, don't use heat. Instead, they use pressure to bond the laminating film to the photo. This makes them a safer option for photos, especially those that are heat-sensitive. Cold laminating machines are also generally easier to use and require less maintenance than thermal machines. However, the bond they create may not be as strong as that of a thermal machine, and they may not be suitable for very thick or heavy-duty laminating jobs.
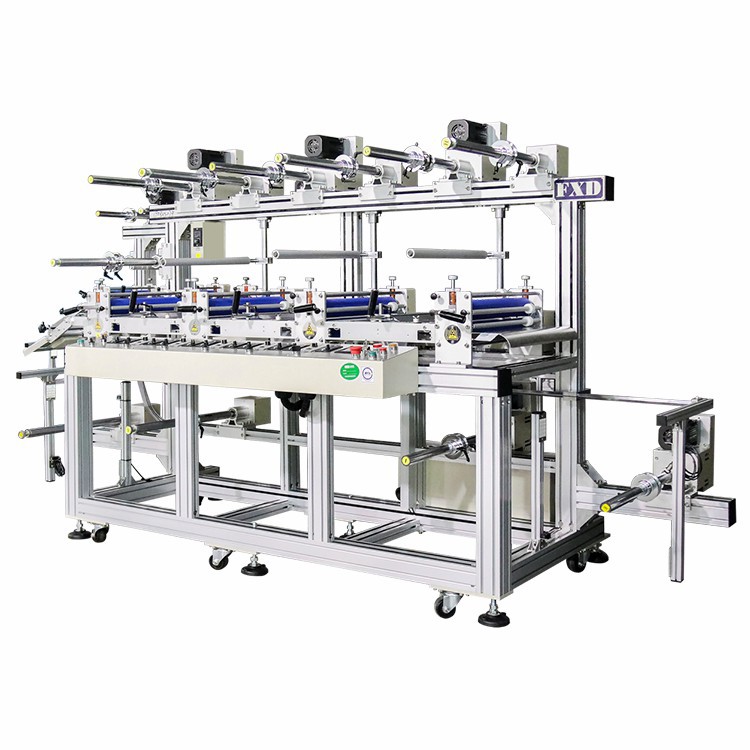

Another thing to consider is the size of the laminating machine. You'll want to choose a machine that can accommodate the size of your photos. If you've got mostly small photos, an Laminator A4 might be a good choice. It's compact, affordable, and can handle standard A4-sized photos and smaller. On the other hand, if you've got larger photos or you need to laminate multiple photos at once, an A3 Laminating Machine would be more suitable. It has a wider feed opening and can handle larger sheets of laminating film.
The quality of the laminating film is also important. You'll want to choose a film that's specifically designed for photos. Look for a film that's clear, durable, and has a good adhesive. There are different thicknesses of laminating film available, and the thickness you choose will depend on your personal preference and the type of photo you're laminating. Thicker films generally provide more protection, but they can also make the photo feel stiffer and less flexible.
Now, let's talk about the actual laminating process. Here's a step-by-step guide on how to laminate a photo using a laminating machine:
- Prepare your photo: Make sure your photo is clean and free of any dust, dirt, or fingerprints. You can use a soft, dry cloth to gently wipe the surface of the photo.
- Choose the right laminating film: Select a laminating film that's the appropriate size and thickness for your photo. Cut the film to size, leaving a little extra around the edges for a clean finish.
- Insert the photo into the laminating film: Place the photo between the two layers of the laminating film, making sure it's centered.
- Feed the photo into the laminating machine: If you're using a thermal laminating machine, make sure it's heated up to the appropriate temperature. Then, slowly feed the photo into the machine, following the manufacturer's instructions. If you're using a cold laminating machine, simply place the photo and film into the machine and run it through.
- Trim the edges: Once the photo has been laminated, use a sharp pair of scissors or a paper cutter to trim the excess film from the edges.
That's it! You've successfully laminated your photo.
As a laminating machine supplier, I've seen firsthand the benefits of using a laminating machine to protect photos. It's a simple and cost-effective way to preserve your precious memories for years to come. Whether you're a professional photographer, a hobbyist, or just someone who wants to protect their family photos, a laminating machine can be a great investment.
If you're interested in purchasing a laminating machine, I've got a wide range of options available. My Laminator A4 is perfect for home use or small businesses, while my A3 Laminating Machine is ideal for larger jobs. I offer high-quality machines at competitive prices, and I'm always here to provide support and advice.
If you have any questions or if you'd like to discuss your laminating needs, don't hesitate to get in touch. I'm happy to help you find the right laminating machine for your requirements. Let's work together to protect your photos and keep your memories alive.
References
- General knowledge from years of experience in the laminating machine industry.
- Product manuals and specifications from laminating machine manufacturers.