

How do I prevent air bubbles when laminating with a laminator?
Jul 11, 2025
Leave a message
Air bubbles can be a frustrating issue when using a laminator. As a laminator supplier, I've encountered this problem numerous times and have learned several effective ways to prevent them. In this blog post, I'll share some tips and tricks to help you achieve bubble - free lamination.
Understanding the Causes of Air Bubbles
Before we delve into prevention methods, it's essential to understand why air bubbles occur. Air bubbles typically form when air gets trapped between the laminating film and the document during the lamination process. This can happen due to several reasons:
- Improper alignment: If the document is not placed correctly within the laminating pouch, air can get trapped at the edges.
- Dust and debris: Particles on the document or the laminating film can create gaps where air accumulates.
- Incorrect temperature or speed: If the laminator is set at the wrong temperature or speed, the film may not adhere smoothly, leading to air bubbles.
- Poor quality laminating materials: Low - quality laminating films may not seal properly, allowing air to enter.
Pre - Lamination Preparation
1. Clean the Document and the Workspace
The first step in preventing air bubbles is to ensure that both the document and the workspace are clean. Use a clean, dry cloth to wipe the document and remove any dust, fingerprints, or debris. A clean surface will allow the laminating film to adhere more evenly. Similarly, clean the area where you'll be laminating to prevent any foreign particles from getting onto the document or the laminating film.
2. Choose the Right Laminating Materials
Invest in high - quality laminating films and pouches. Cheaper materials may not seal well and are more likely to cause air bubbles. At our store, we offer a wide range of laminating products, including Large Laminator, Laminator A4, and A3 Laminator, all of which are compatible with high - quality laminating films designed to minimize air bubble formation.
3. Check the Laminator
Before starting the lamination process, make sure your laminator is in good working condition. Check the rollers for any debris or damage. If the rollers are dirty, clean them according to the manufacturer's instructions. Also, ensure that the laminator is set to the correct temperature and speed for the type of laminating film and document you're using. Refer to the laminator's manual for the recommended settings.
The Lamination Process
1. Proper Document Placement
When inserting the document into the laminating pouch, take your time to align it correctly. Make sure the document is centered within the pouch and that there are no wrinkles or folds. If the document is too large for the pouch, trim it to fit. Insert the pouch into the laminator slowly and steadily, ensuring that it enters the rollers straight.
2. Release the Air
Some laminating pouches have a small notch or opening at one end. Before inserting the pouch into the laminator, gently press the document against the film starting from one end and working your way to the other. This will help release any air that may be trapped between the document and the film. If the pouch doesn't have a notch, you can use a credit card or a similar flat object to smooth out the air bubbles as you press the document against the film.

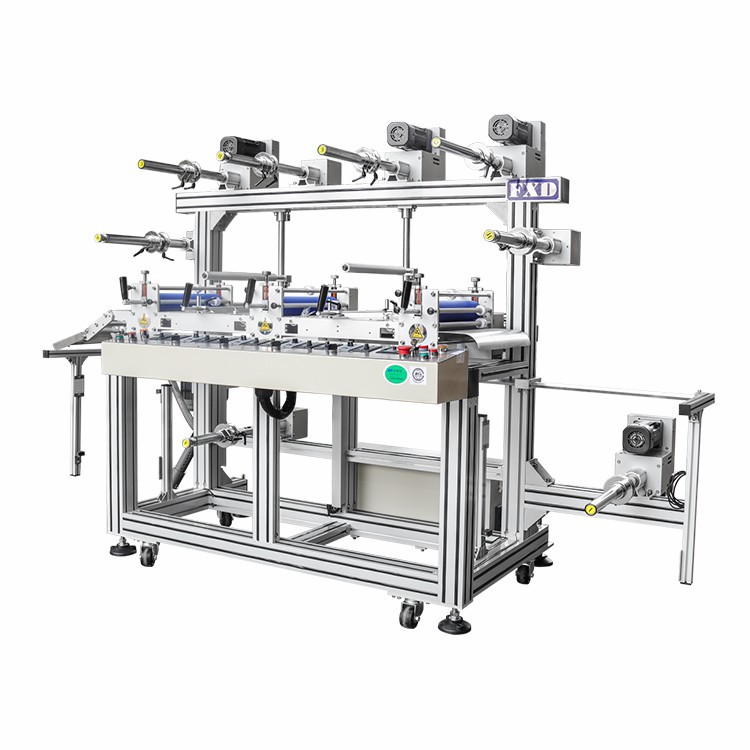
3. Slow and Steady Feed
Feed the laminating pouch into the laminator at a slow, consistent speed. Avoid pushing the pouch too quickly, as this can cause air to be trapped. Let the laminator do the work. If you feel any resistance while feeding the pouch, stop and check for any misalignment or wrinkles.
Post - Lamination Checks
1. Inspect the Laminated Document
Once the lamination process is complete, remove the laminated document from the laminator and inspect it for air bubbles. If you notice any small air bubbles, you can try to remove them by gently applying pressure with a flat object, such as a book or a rolling pin. Place the laminated document between two sheets of paper to protect the surface and then apply pressure evenly.
2. Cool Down
Let the laminated document cool down completely before handling it. If you try to bend or fold the document while it's still hot, it can cause the film to separate and create air bubbles.
Troubleshooting Common Issues
1. Persistent Air Bubbles
If you're still experiencing air bubbles after following all the above steps, there may be an issue with the laminator or the laminating materials. Check the laminator's temperature and speed settings again. If the problem persists, it could be a sign of a faulty laminator or low - quality laminating film. Contact our customer support team for further assistance.
2. Uneven Lamination
Uneven lamination can also be a cause of air bubbles. If one side of the document is not laminated properly, it may be due to an uneven temperature distribution in the laminator or a problem with the rollers. Check the laminator's alignment and make sure the rollers are clean and in good condition.
Conclusion
Preventing air bubbles when laminating requires careful preparation, proper technique, and the right equipment. By following these tips, you can achieve bubble - free lamination and ensure that your documents look professional and well - protected. As a laminator supplier, we're committed to providing you with the best laminating solutions. If you have any questions or need further advice on choosing the right laminator or laminating materials, don't hesitate to contact us. We're here to help you with all your lamination needs. Whether you're a small business owner, a teacher, or an individual looking to laminate important documents, our products and expertise can make your lamination process a success. So, if you're interested in purchasing a laminator or laminating materials, get in touch with us for a detailed discussion on your requirements and a competitive quote.
References
- Laminator Manufacturer's Manuals
- Industry Best Practices for Lamination